By Lynda Stevens | 27 July 2021
As naturalists we love to spend time outdoors exploring our parks and trails. An outing is made even more special when we have a wildlife encounter and can take photographs to record the event. Many people take up wildlife photography to remember these encounters while others use photography as a way to help them identify what they have seen. Having an image to look at after the outing allows you to study the animal in more detail and learn the distinctive features which can be especially helpful for birdwatchers. If you upload your photos to iNaturalist.ca and become a citizen scientist, your observations will be added to a growing database of sightings in Canada. By sharing your photos with others, you can also help to raise awareness of the natural world and work to promote its conservation. If you have been wanting to take up wildlife photography but didn’t know where to begin, I am hoping that this introduction will get you started on very enjoyable addition to your naturalist experiences.
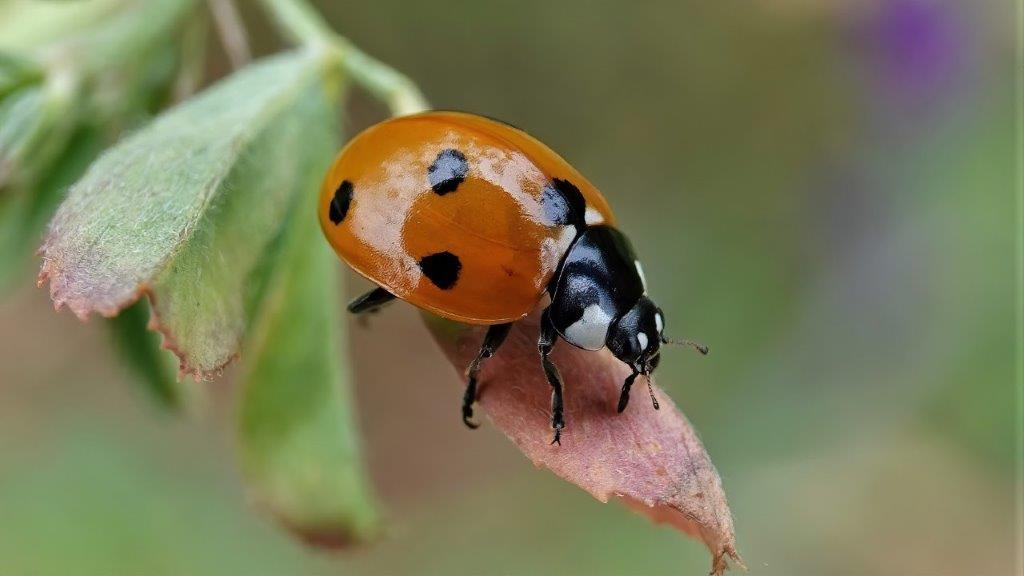
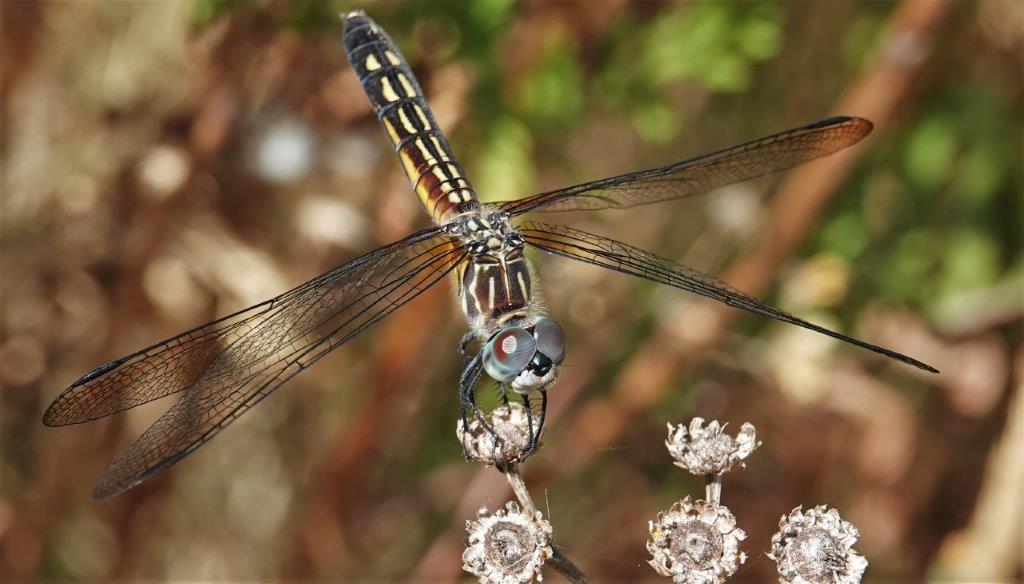
Wildlife photography is one of the more challenging, yet satisfying, types of photography. The challenges include trying to photograph subjects that are often moving and unpredictable, having no control over the lighting situation, and dealing with distracting elements such as branches and leaves. When you are able to “get the shot”, despite these challenges, it is tremendously satisfying. Wind can be an issue when photographing insects, however insects often stay in one place longer than birds or other animals, allowing for more chances to get repeat shots or change camera settings.
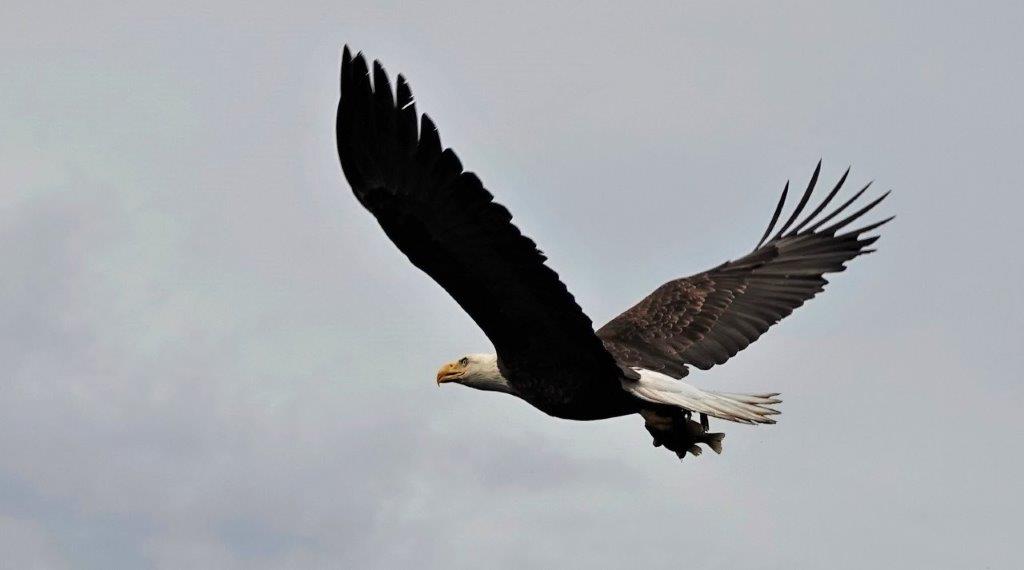
When people ask me to give them tips on bird or insect photography they usually want to know the best camera settings to use. Settings and gear are important but the first thing that I mention, is the need for patience and perseverance. This type of photography requires being able to quietly stand and wait for the right moment, and capturing action shots involves more effort and patience compared to subjects that are still. Take the time to observe and learn the habits and behaviours of your subjects. For example, preening birds stay in one place for a few minutes giving you the chance to get several shots. Birds will often poop right before taking off, so watching for that behaviour allows you to get your camera ready for a flight shot. I have counted in seconds how long a bee spends at a flower so that I can predict when it will lift off and move to the next flower. With waterfowl, learning about their landing and take off patterns will increase your chance of success. They will land and take off into the wind so positioning yourself correctly can improve your chances. If one bird in a large flock takes off it is likely that the others will follow. Being observant and watching for these types of behaviours will increase your chances of capturing the moment. Someone said that the better a naturalist you are, the better a wildlife photographer you will be.
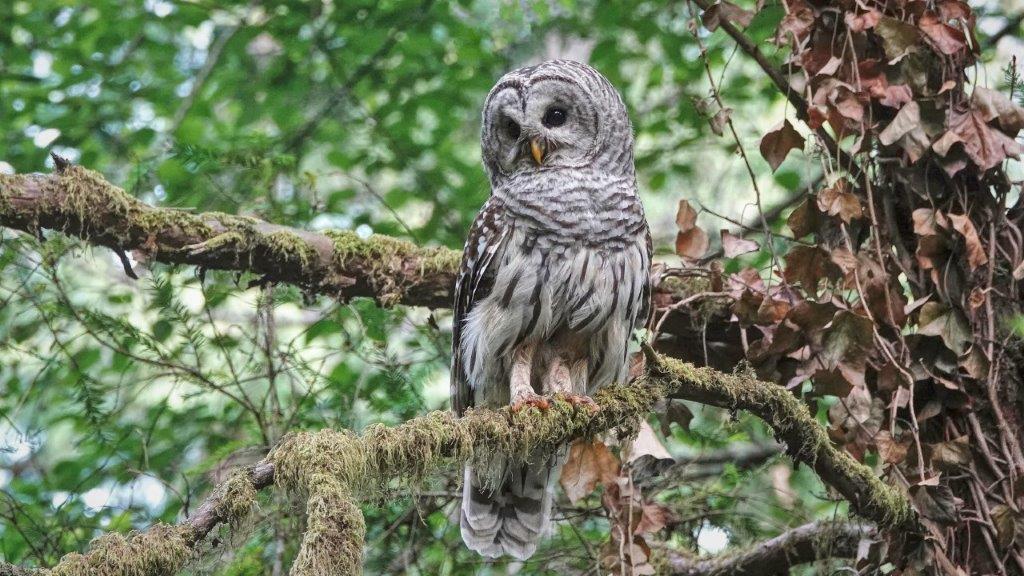
Photographing any type of wildlife can be challenging since most wild creatures become alert the moment that they see or hear you. If you approach too quickly your subject will be alarmed and may fly or run away. Many birds have their own comfort zones so, if you slow down or stop moving and wait patiently, birds will often get used to your presence and go about doing whatever they were doing. Different birds have different tolerance levels for human interaction and the same is true for many insects. Barred owls can often be seen roosting in plain sight during the day and will often let you get quite close.
Grab a few shots from a distance, then slowly move a few feet closer, take some more shots, move closer and so on. Do not make sudden moves and try to avoid eye contact with a bird as some birds will perceive this as threat. You will have more success photographing birds if the bird feels safe but you rarely get really close so this is where the use of a telephoto lens becomes necessary. Occasionally, you might be lucky enough to encounter a young bird since inexperienced birds can be quite curious allowing you to get closer than you might expect. I recently had a close encounter with a juvenile raven who flew right up to me and looked at me with great interest for several minutes before deciding to have a preening session.

In the case of nesting birds, never approach the nest too closely as this will distress the bird and may even cause them to abandon the nest. Insects are usually more tolerant of your presence and will often allow you to get very close and get some close up shots. Birds, insects and other animals will often ignore you when they are feeding or preening so watch for these opportunities.
This is a good to time to briefly mention the ethics of bird photography. If your subject appears agitated you are probably too close and it is best to back off. There is controversy about using cell phones to play bird calls and draw the bird in closer. This practice manipulates the birds behaviour and it is now frowned upon by ethical photographers.
Soft, early morning light is the best for bird photography and it is also the time when most wildlife is more active. Insects, however, can be photographed at any time of day but are more active as the day warms up. This is especially true of dragonflies who need the sun to warm them up and get them moving.
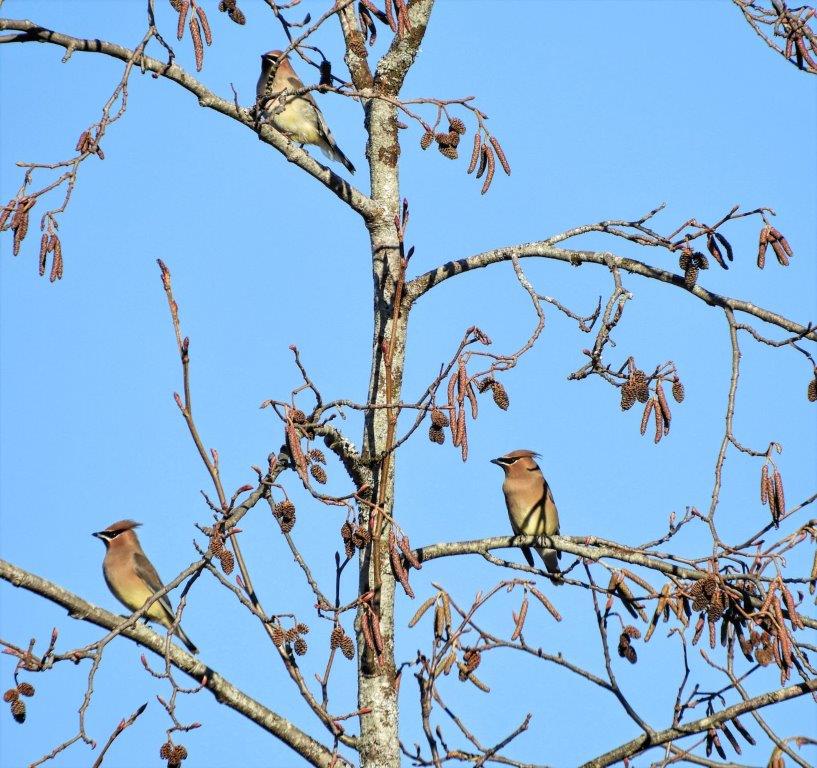
It is always nice when you can photograph your subject against a clean background but often this is not possible. Sometimes you can change your position but often your subject will not stay put long enough to allow you to do this. If you are dealing with leaves and branches you can try to incorporate the distracting elements into your image and call it a habitat shot. If your subject is too far away for a good close up shot then consider doing a shot showing the subject in its surroundings. These can often be very unique since, through the habitat, the viewer sees the time of day, mood, or weather conditions and places them at the scene.
If possible, try to photograph birds and animals on their eye level. If your subject is on the ground try to get down low, even down on one knee, if you can do this slowly and quietly.
Always focus on the eye of the subject -if the eye is in focus it doesn’t matter if some other parts are slightly out of focus.
Much of wildlife photography is made up of split-second decisions in the field with no time to do much planning. There is not one camera setting that works in all situations. The fastest way to get better is to go out and take lots of images and find out what works and doesn’t work by experimenting with settings for your particular camera. I don’t want to get too technical but here are some tips to get you started.
You don’t need a fancy camera or close up lens to get good wildlife photographs. There are many inexpensive point and shoot cameras on the market that offer both close up and telephoto features. Even cell phones are coming out with a variety of camera settings such as close up and some limited telephoto capabilities. But if you are serious about photographing wildlife you will want to invest in a regular camera of some type. Here is an article that provides some good information about these camera options.
All cameras and some newer cell phones will allow you to change the shutter speed-with wildlife photography the faster the shutter speed the better. A fast shutter speed allows you to capture movement such as bees flitting from flower to flower or a bird in flight.
If you’re using a camera that doesn’t allow you to adjust shutter speed, look for different auto scenes. Putting your camera in the sports scene will tell the camera to use a fast shutter speed to freeze motion. Whether you’re using a point-and-shoot camera, a smartphone or something fancier, you need to know how to use your equipment before you get out there. Spend some time at home learning the functions on your camera and even do an outing with the sole purpose of trying different settings and see how they work in different situations. Because not all of your subjects will be in perfect light learn about a setting called Exposure Compensation which allows you to increase or decrease the amount of light entering the camera. Most cameras have a setting that allows you take multiple shots with one press of the shutter-this is called ‘ burst or continuous mode”. Using this mode allows you to take several photos at once and increases your chance of getting some that are sharp. Burst mode also increases your chance of capturing interesting positions since birds and other animals move around when feeding and grooming. However, using this mode will result in you taking a lot of photos so make sure that you carry an extra memory card, and an extra battery just in case.
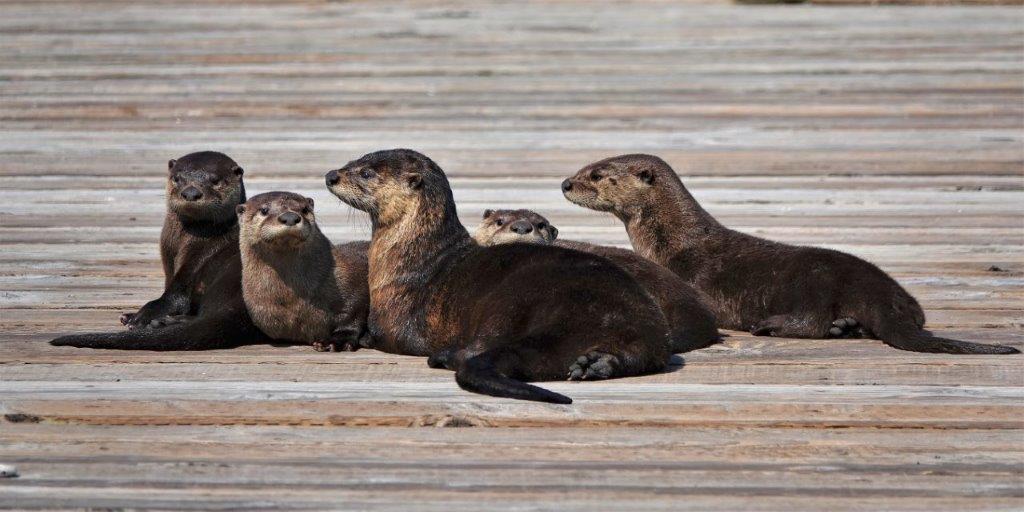
To get started in wildlife photography get to know the common wildlife in our area and research the best places and time of day to see these subjects. Practice with common subjects such as geese, herons, gulls, robins or mallards.
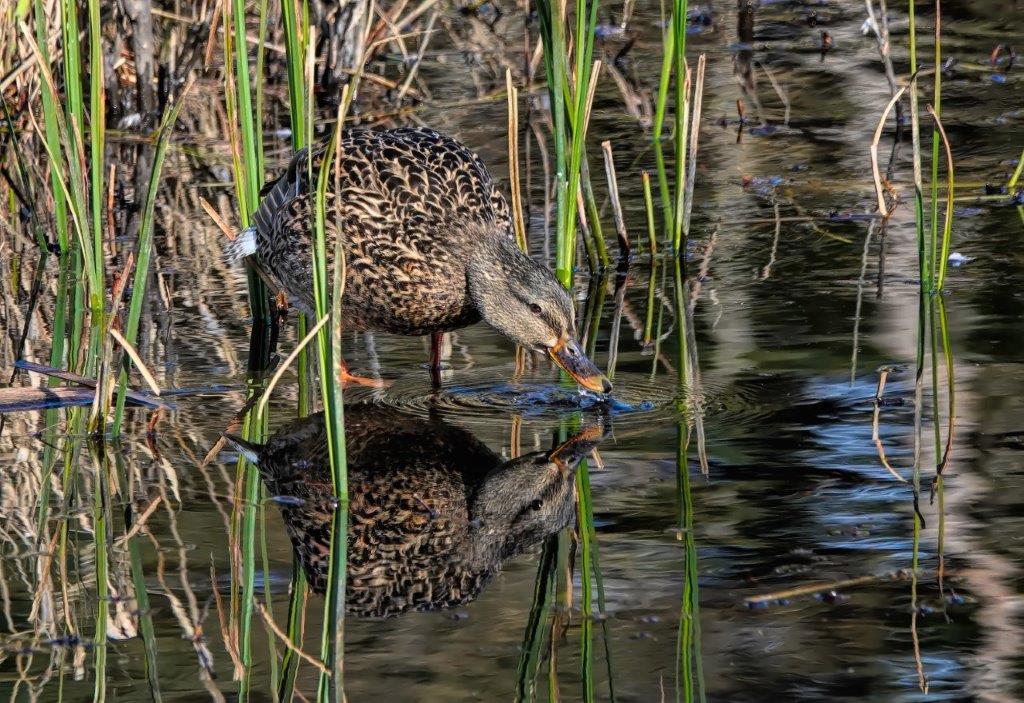
These will allow you to hone your skills before attempting more difficult subjects. Develop some tracking skills by photographing them when they are feeding, preening or moving around on the ground. Some of our local marshes are good places to start since the birds there are often used to the presence of people and are more tolerant of us. Marshes are also a good place to see dragonflies.
Take lots of photos and be prepared for many out of focus or just plain bad shots. The more mistakes that you make the more you will learn. And remember to have fun and appreciate all the amazing creatures that nature has to offer.